

I’ve just borrowed a Wacom Intuos3 graphics tablet off my brother. However he’d lost the CD that came with it so I had to root around on the internet to get it working on my Microsoft Windows 8.1 laptop.
Now that it is up and running I thought I’d write a quick article about downloading and installing the latest Wacom drivers in case anyone else found it useful.
Step 1: Identify The Tablet
The way to do this is to look at the sticker on the back of the tablet and then consult this Wacom page:
http://101.wacom.com/productsupport/model.php
This is what’s on the back of the tablet:

As you can see the tablet model number is PTZ-630 meaning that it is an Intuos3.
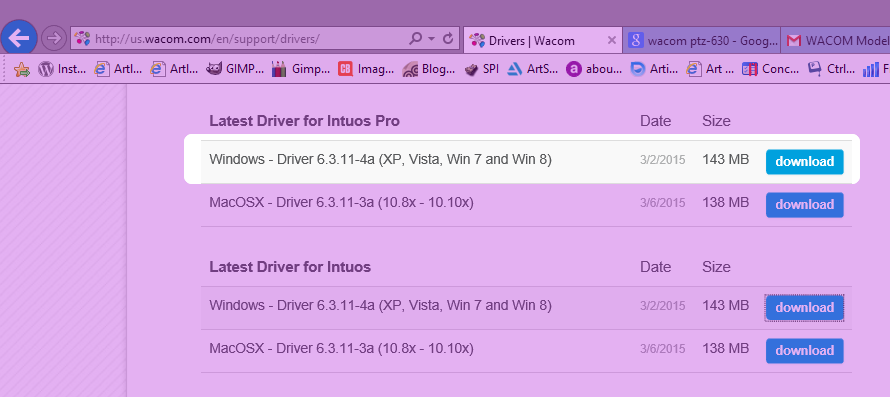
Step 2: Download The Drivers
I found the drivers I needed from this page:
http://us.wacom.com/en/support/drivers/
Step 3: Run The Executable file
Once downloaded, I ran the executable file (WacomTablet_6.3.11-4a.exe) which begins by extracting files:

Step 4: Accept The License Agreement

Step 5: Reboot Your Computer
When the installation completed, it asked me to restart.

Step 6: Check The Installed Apps
Just to make sure, I checked the Installed Apps screen after the reboot to see if the Wacom software was present.

Step 7: Connect The Tablet
I connected the tablet’s USB cable and Windows started installing the Micosoft onscreen keyboard.

Once this is completed, you will see a new keyboard icon in your systray at the bottom right corner of your screen:

Step 8: Start Using Your Graphics Tablet
Mission accomplished!

very useful. very easy to follow. thank you very much
Hey thanks for the feedback bro and thanks for lending me your Wacom 🙂
And there it is, thank you.
My pleasure :).
You should re-write all tech tutorials on the internet. Thank you for the perfectly clear instructions!
Thank you Rebecca, hope this helped you and good luck!