After pondering my priorities for this project, I have moved the goal posts on myself and decided that no-longer will Timescales be the over-riding priority.
Instead Quality will be the over-riding priority.
The reason is that I am enjoying the journey as much as the thought of the end-goal so I want to continue to take the time to explore interesting avenues as I find them.
I’m not sure the temple really looks like a temple so I will do a bit more research into dark temples and maybe do a 3D model to get my head around it all.
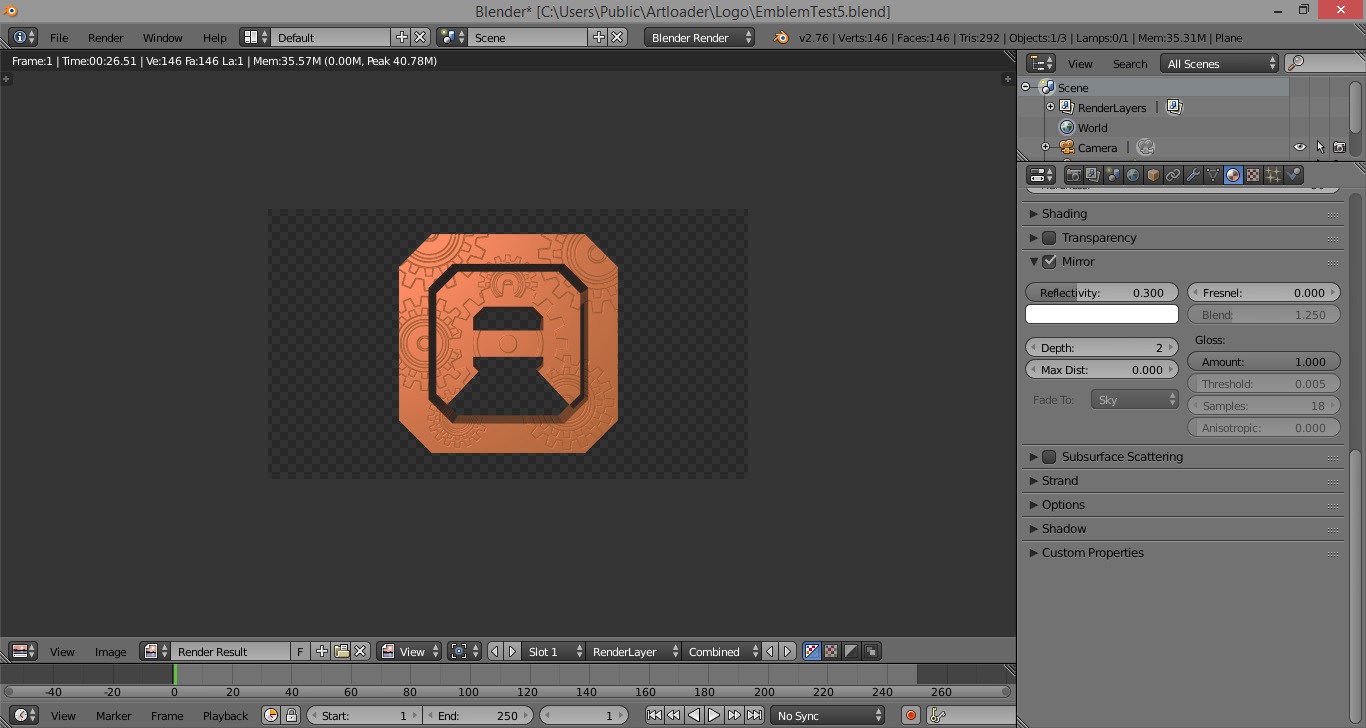
Using the 3D model from experiment 4, in Blender I moved my camera down to the planet surface and pointed it up at the rings. This is the resulting render.
I will now paint on top of this in Manga Studio to create a concept image of the Dark Temple Of Mymosule from my digital comic project.
After studying some reference photos, I played about with the planetary ring texture a little more in Blender.
Also, the sun is now shining from the lower left and has a bit of a red tinge to suggest a sunset.
I then scaled the whole model up by roughly a factor of ten because I will then locate a camera on the planet surface and take a render with the rings coming down from the sky to the horizon.
Hopefully I can use the render as a background for a digital painting of the Dark Temple Of Mymosule.
OK so I decided to use the colour ramp method from Experiment 2 and put together a simple scene with a marble textured planet.
The rings are actually made from a single disc, it’s the colour ramp texture that makes it appear as multiple rings. Colour ramps allow you to specify transparent areas so I’ve just got a single ring with some transparent areas on it.
Continuing from my Blender planetary ring experiments with the Wood texture type yesterday, I thought I’d try out the Blend texture type.
I created a ring mesh by extrude-scaling a circle.
It took me ages to understand the different Blend texture parameters but I’ve found the following settings yield good ring-like patterns:
Progression = Spherical
Mapping – Coordinates = Object (choose itself)
Mapping – Projection = doesn’t matter
I then had to play about with the Mapping – Size X and Y values.
After that I made a concerted effort to finally learn how to use the Blender Colour Ramps (they’re flippin difficult to understand to begin with but once you learn how to use them, they’ll help you to world domination!)