Adding Tarnish with Blender Vertex Painting

Some of my mates suggested I tarnish my logo a little since that would be more steampunky so I wondered about using Vertex Painting in Blender.

This Blender Manual page on Vertex Painting gave me a good overview but I also found out that for vertex painting to be most effective, I had to have a lot of vertices.

It was no good having a really simple mesh like the one I started out with so I had to subdivide my mesh a fair bit.

Vertex Painting is awesome though!  It allows you to paint directly onto your 3D mesh – a very natural way to add colour to your 3D models.

Vertex Painting in Blender

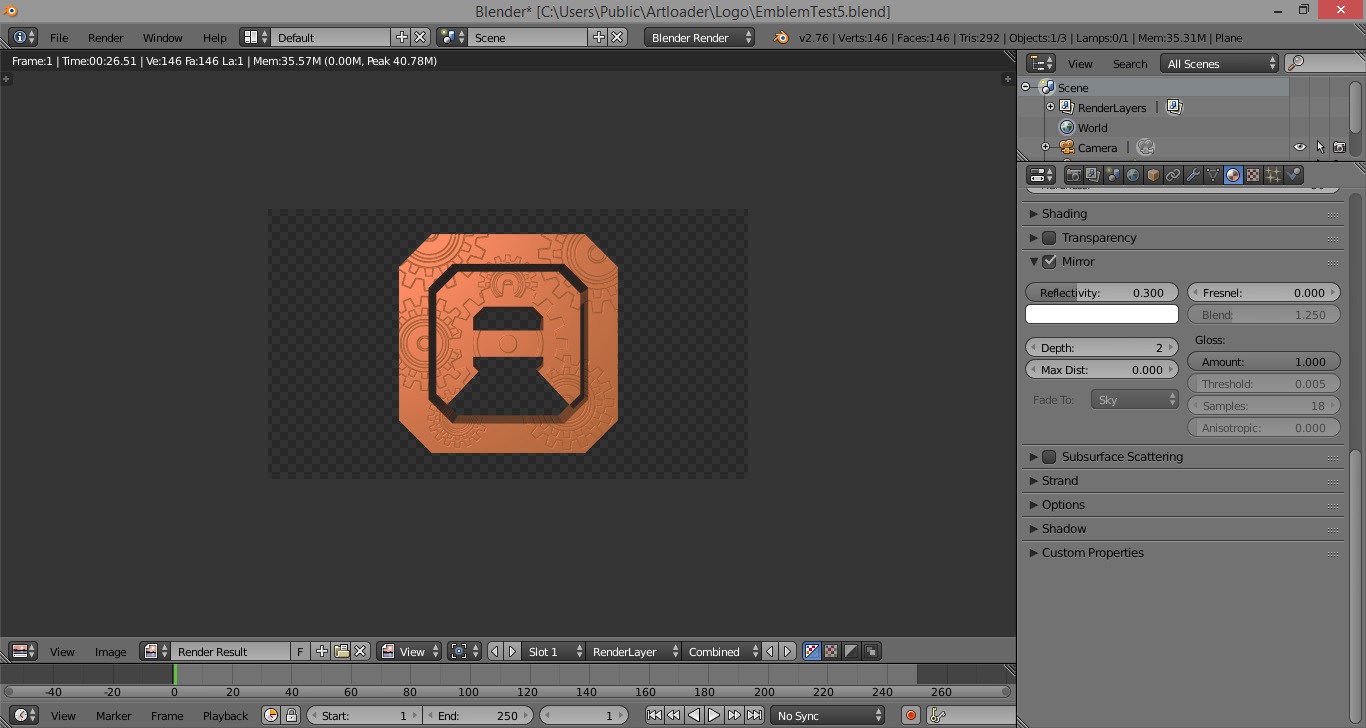
Now my logo has a nice bit of tarnishing:

Tarnished Steampunk Logo

Logo Design V1

Logo Design V1
Logo Design V1

Here’s my first attempt at a logo for this website.

It was done in Blender by first constructing a 2D shape and then extruding it upwards to give it thickness.

I like the shape but am not sure about the texture.  I’m after something more … “clockworky”.  Maybe some-kind of a cogwheel bumpmap …

Project ADC-1: 09 October 2015

[visualizer id=”537″]


After pondering my priorities for this project, I have moved the goal posts on myself and decided that no-longer will Timescales be the over-riding priority.

Instead Quality will be the over-riding priority.

The reason is that I am enjoying the journey as much as the thought of the end-goal so I want to continue to take the time to explore interesting avenues as I find them.

My Make A Steampunk eComic Dashboard page has been updated accordingly.

Tasks completed over the last 2 weeks:

  1. Dark Temple of Mymosule concept art (4 hrs).
  2. Design an Artloader logo for this website (Started 2 hrs).

Tasks planned for the next 2 weeks:

  1. Design an Artloader logo for this website (2 hrs).
  2. Dark Acolyte Of Mymosule concept art by painting over a 3D render (10 hrs).

Dark Temple Concept Art V1

Dark Temple Concept V1

Here is a concept picture of The Dark Temple Of Mymosule from my upcoming digital comic.

In Manga Studio, I imported the planetary rings render I did from Blender and added a bunch of digitally painted layers:

  1. A cloud layer.
  2. A background mountains layer.
  3. A layer for the Dark Temple Of Mymosule.
  4. A mid-ground mist layer.
  5. A foreground cliff layer.

I’m not sure the temple really looks like a temple so I will do a bit more research into dark temples and maybe do a 3D model to get my head around it all.

Making Planetary Rings In Blender Experiment 4

After studying some reference photos, I played about with the planetary ring texture a little more in Blender.

Also, the sun is now shining from the lower left and has a bit of a red tinge to suggest a sunset.

I then scaled the whole model up by roughly a factor of ten because I will then locate a camera on the planet surface and take a render with the rings coming down from the sky to the horizon.

Hopefully I can use the render as a background for a digital painting of the Dark Temple Of Mymosule.

Planetary Rings In Blender 6

Making Planetary Rings In Blender Experiment 3

OK so I decided to use the colour ramp method from Experiment 2 and put together a simple scene with a marble textured planet.

The rings are actually made from a single disc, it’s the colour ramp texture that makes it appear as multiple rings.  Colour ramps allow you to specify transparent areas so I’ve just got a single ring with some transparent areas on it.

I then followed Reaping Fire’s YouTube tutorial on making a star field.

Here’s the result of my Making Planetary Rings In Blender Experiment 3:

Planetary Rings In Blender 5